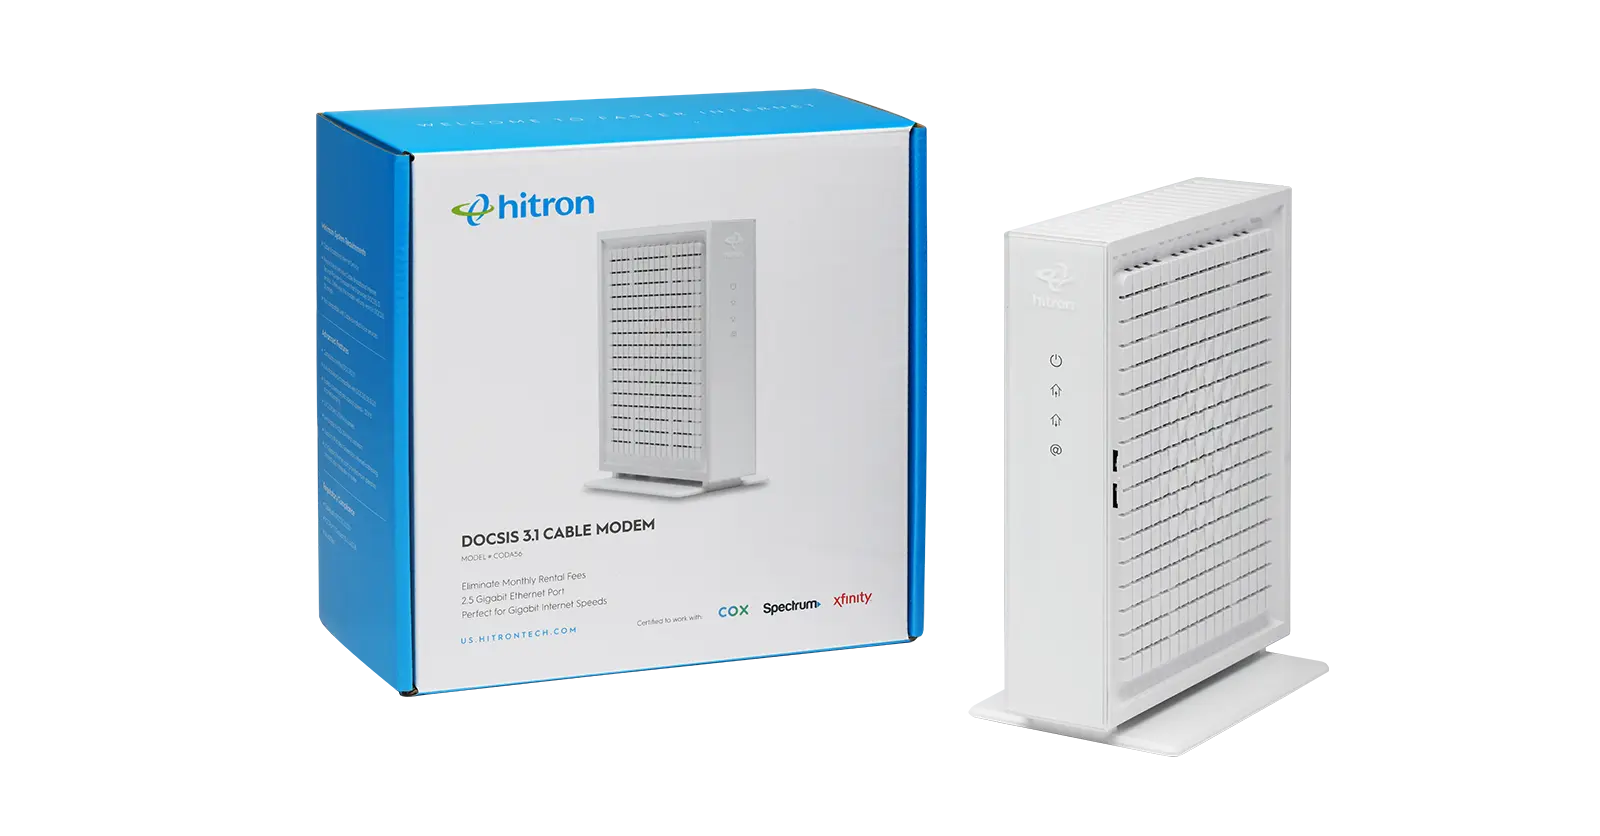
There are differences in setting up your cable modem whether you purchased or rented the device. If you bought your own cable modem, you should check the user manual or manufacturers’ support website for specific details. For example, Xfinity (Comcast) and other Cable Internet service providers use downloadable apps for their customers to set up and “activate” their Internet services.
However, in this article we cover general steps to setting up your cable modem.
There are 3 key steps to setup your cable modem for Internet access:
- Plug in your modem to a cable outlet
- Plug in your cable modem directly to your computer
- Plug in your cable modem to your WiFi router to get WiFi
We cover these 3 steps in more detail below.
Where to Place Your Cable Modem
Cable modems, like Hitron’s CODA DOCSIS 3.1 cable modem, use the cable TV wiring to distribute your Cable Internet connection in your home. If you have arranged for cable Internet services to be activated in your home, you will use the coaxial wiring (also known as cable TV wiring) to connect your cable modem. To start, locate the cable TV outlets (also known as a coax outlet) in your home.
Before choosing where to set up your cable modem, you need to check that the cable outlet is working. You can do this by using a coax cable tester such as Hitron’s Coax Cable Tester, to test that your cable outlet is receiving a broadband signal. If you do not have a coax cable tester, don’t worry, we cover the setup steps below.
Cable Modem Setup
STEP 1 – Plug in Your Cable Modem to a Cable Outlet
Using a coax cable, plug in one end to your cable modem. Then, plug in your cable modem to the coax outlet with the other end of the coax cable. Connect your cable modem to a power outlet using the power adapter included with your cable modem.
STEP 2 – Plug in Your Cable Modem to Your Computer
Using an Ethernet cable, plug one end of an Ethernet cable into the Ethernet or LAN port on the back of your modem. Next, plug the other end into the Ethernet port on the back of your computer.
Your modem should come with an Ethernet cable, but any Ethernet cable will work.
STEP 3 – Plug in Your Cable Modem to Your WiFi Router
Once your cable modem is plugged in to both the coax outlet and a power outlet, you are ready for a direct Internet connection (wired). To get wireless Internet (WiFi) you need to connect your cable modem to a router. You can connect multiple devices to your Internet connection with a router. And, just like in the step 2 above, to connect to your router, instead of plugging the modem directly into your computer, you’ll plug it into the router with an Ethernet cable.
Testing Your Internet Connection
Once everything is connected where it should be, you need to test your Internet connection.
A simple test is going to any website from your computer, tablet or cellphone (example: www.google.com). If the webpage loads, then you have an Internet connection.
No Internet Connection
If the webpage doesn’t load, here are a few things to try to troubleshoot:
- Make sure your cable modem is an approved device with your ISP.
- Make sure that you have activated your Internet Service with your Internet Service Provider. To activate your Internet service, visit your cable Internet provider’s website and follow the instructions to activate your Internet service.
- Check that the coaxial cable connections are secure at the modem and at the coax outlet.
- Check the Ethernet connections are secure at the modem and at the computers’ Ethernet port.
- Power off your modem for at least 10 seconds and then power it back on.
- Restart your computer or router connected to the cable modem. This ensures that they receive a correct IP address from the modem.
For more answers, check out our Hitron CODA cable modem FAQs.
Available on Amazon, Hitron’s CODA DOCSIS 3.1 Cable Modem delivers the fastest Multi-Gigabit speeds to your connected devices. Learn more about cable modems or cable modem routers by reading Hitron’s Learn Page.
