If you do not want to download and use the MyHitron+ app, you may configure your ARIA3411 manually, using the ARIA3411’s Web Manager GUI.
Please Note: The very FIRST TIME you login to the ARIA3411 web manager GUI, the EasyConnect setup wizard opens for you to set up your router login password. EasyConnect is a setup wizard that allows you to rapidly configure the ARIA3411’s most important settings, including Internet connection, wireless and password settings.
STEP 1 – Choose a location for your ARIA3411
Before installing the ARIA3411, choose a location where your computer and modem are near existing electrical wall outlets.
Caution: This product is for indoor use only. Do not route the Ethernet cable(s) outside of the building. Exposure of the cables to lightning could create a safety hazard and damage the product.
Do not locate the ARIA3411 where it will be exposed to moisture or excessive heat.
• Choose a location in your home where the ARIA3411 and your computer are near existing electrical outlets (power source), and where it can be connected to the various devices.
• Make sure the power cord is placed safely out of the way so they do not create a tripping hazard.
• The ARIA3411 can be placed on a shelf or desktop.
• Keep away from the strong electromagnetic radiation and electromagnetic devices.
STEP 2 – Installation
1) Place the ARIA3411 near a power outlet.
2) Connect the power adapter (12V, 4A) to the ARIA3411 and then plug in to a power outlet.
STEP 3 – Access your ARIA3411 to Complete Set Up:
Configure from Wired (Ethernet) connection (e.g.: desktop computer)
Using the included Ethernet cable, plug in the Ethernet cable into one of the LAN ports on the back of your ARIA3411, and then plug the other end into the Ethernet port on the back of your computer. Your LAN LEDs will blink.
Please Note: The EasyConnect setup wizard will automatically display when you first access the ARIA3411, or immediately after you have performed a factory reset.
Open a browser window.
Enter the ARIA3411’s IP address (default 192.168.1.1) in the URL bar. The EasyConnect wizard screen (Link to EasyConnect Wizard) displays. Follow the screen prompts.
Configure from Wireless (WiFi) connection:
Using a Laptop
You can connect your WiFi enabled devices to the ARIA3411 using the router WiFi network name and password.
To connect:
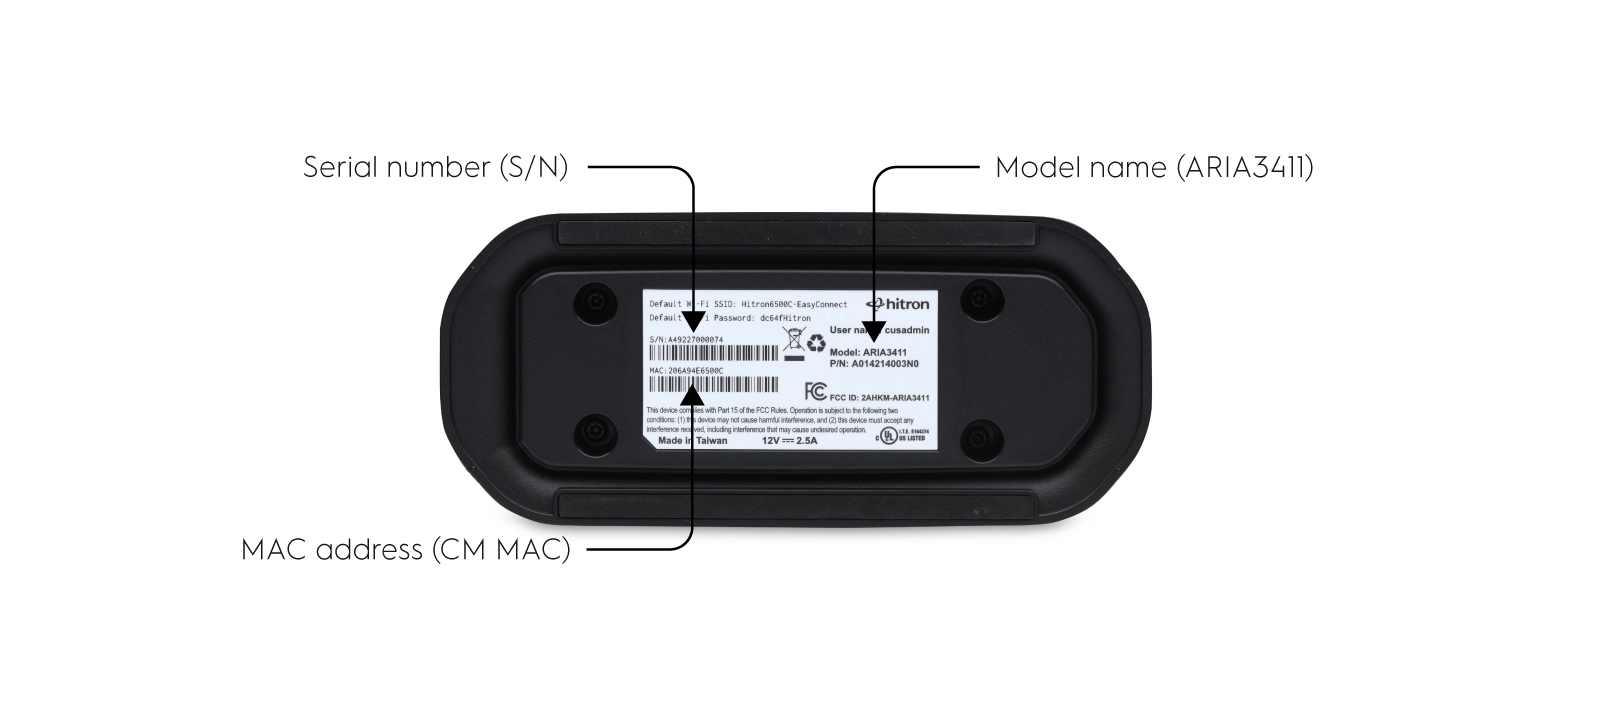
1) You will need the following information listed on the bottom of your ARIA3411 product label (you may want to take a photo of it with your smartphone):
Default Wi-Fi SSID: Hitronxxxx EasyConnect
Default Wi-Fi Password: xxxxxxxx

2) Using your WiFi-enabled device (eg: laptop), connect to the ARIA3411 by opening your device’s WiFi network management settings.
3) Find and select the ARIA3411’s WiFi network name (SSID). The ARIA3411’s WiFi network name (SSID) is found on the product label. Enter the Default Wi-Fi password found on the product label.
4) Your WiFi-enabled device should connect to the WiFi network.
5) Open a browser window.
6) Enter the ARIA3411’s EasyConnect wizard IP address 192.168.1.1 in the URL bar. The EasyConnect wizard screen displays. Follow the screen prompts.
Using a Tablet or Smartphone
1) Using your WiFi-enabled device (eg: tablet, smartphone, etc.), connect to the ARIA3411 by opening your device’s WiFi network management settings.
2) Find and select the WiFi network name (SSID). The ARIA3411’s WiFi network name (SSID) is found on the product label.
3) Enter the Default Wi-Fi password found on the product label.
4) You will be automatically redirected to Hitron’s EasyConnect wizard. Follow the screen prompts.